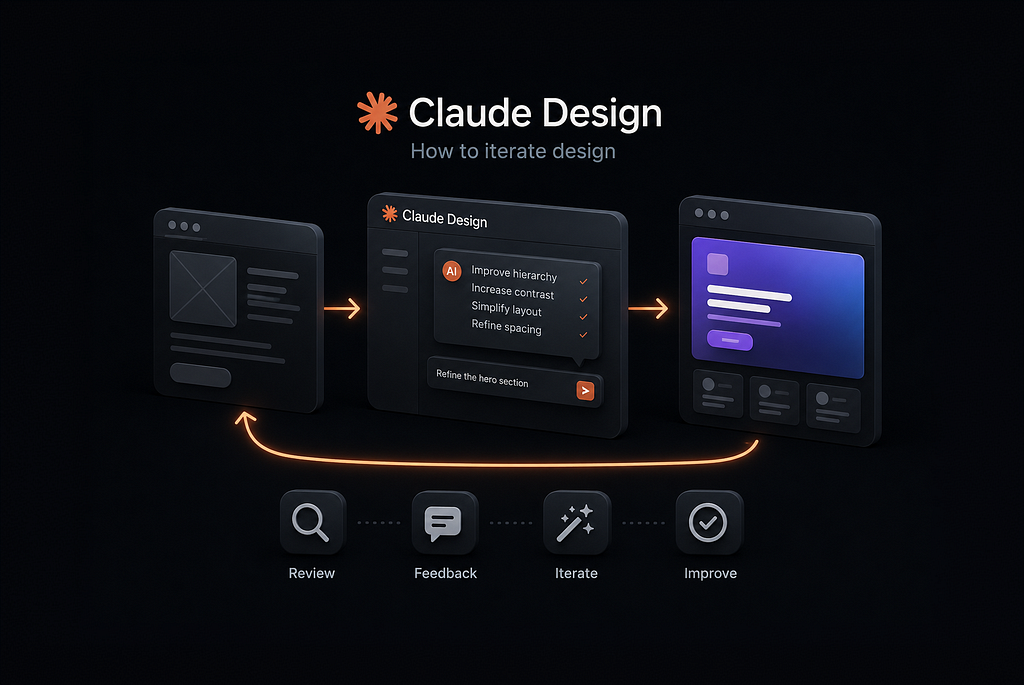
Claude Design is a great tool for quick exploration. But often, the first output it generates isn’t good enough. You’ll need to iterate your design with AI to reach a more desirable state.
Iteration is more than just providing a follow-up prompt asking Claude to change something.
In this article, I want to share 3 simple techniques that will help you iterate your design more effectively.
1. Edit locally first, then propagate globally
This is a simple yet effective way to introduce changes in your design.
You can introduce a particular change in your design (i.e., perfect one card, modal, table row, or header) using direct edits or inline comments, then ask Claude to apply a similar change to your entire layout.
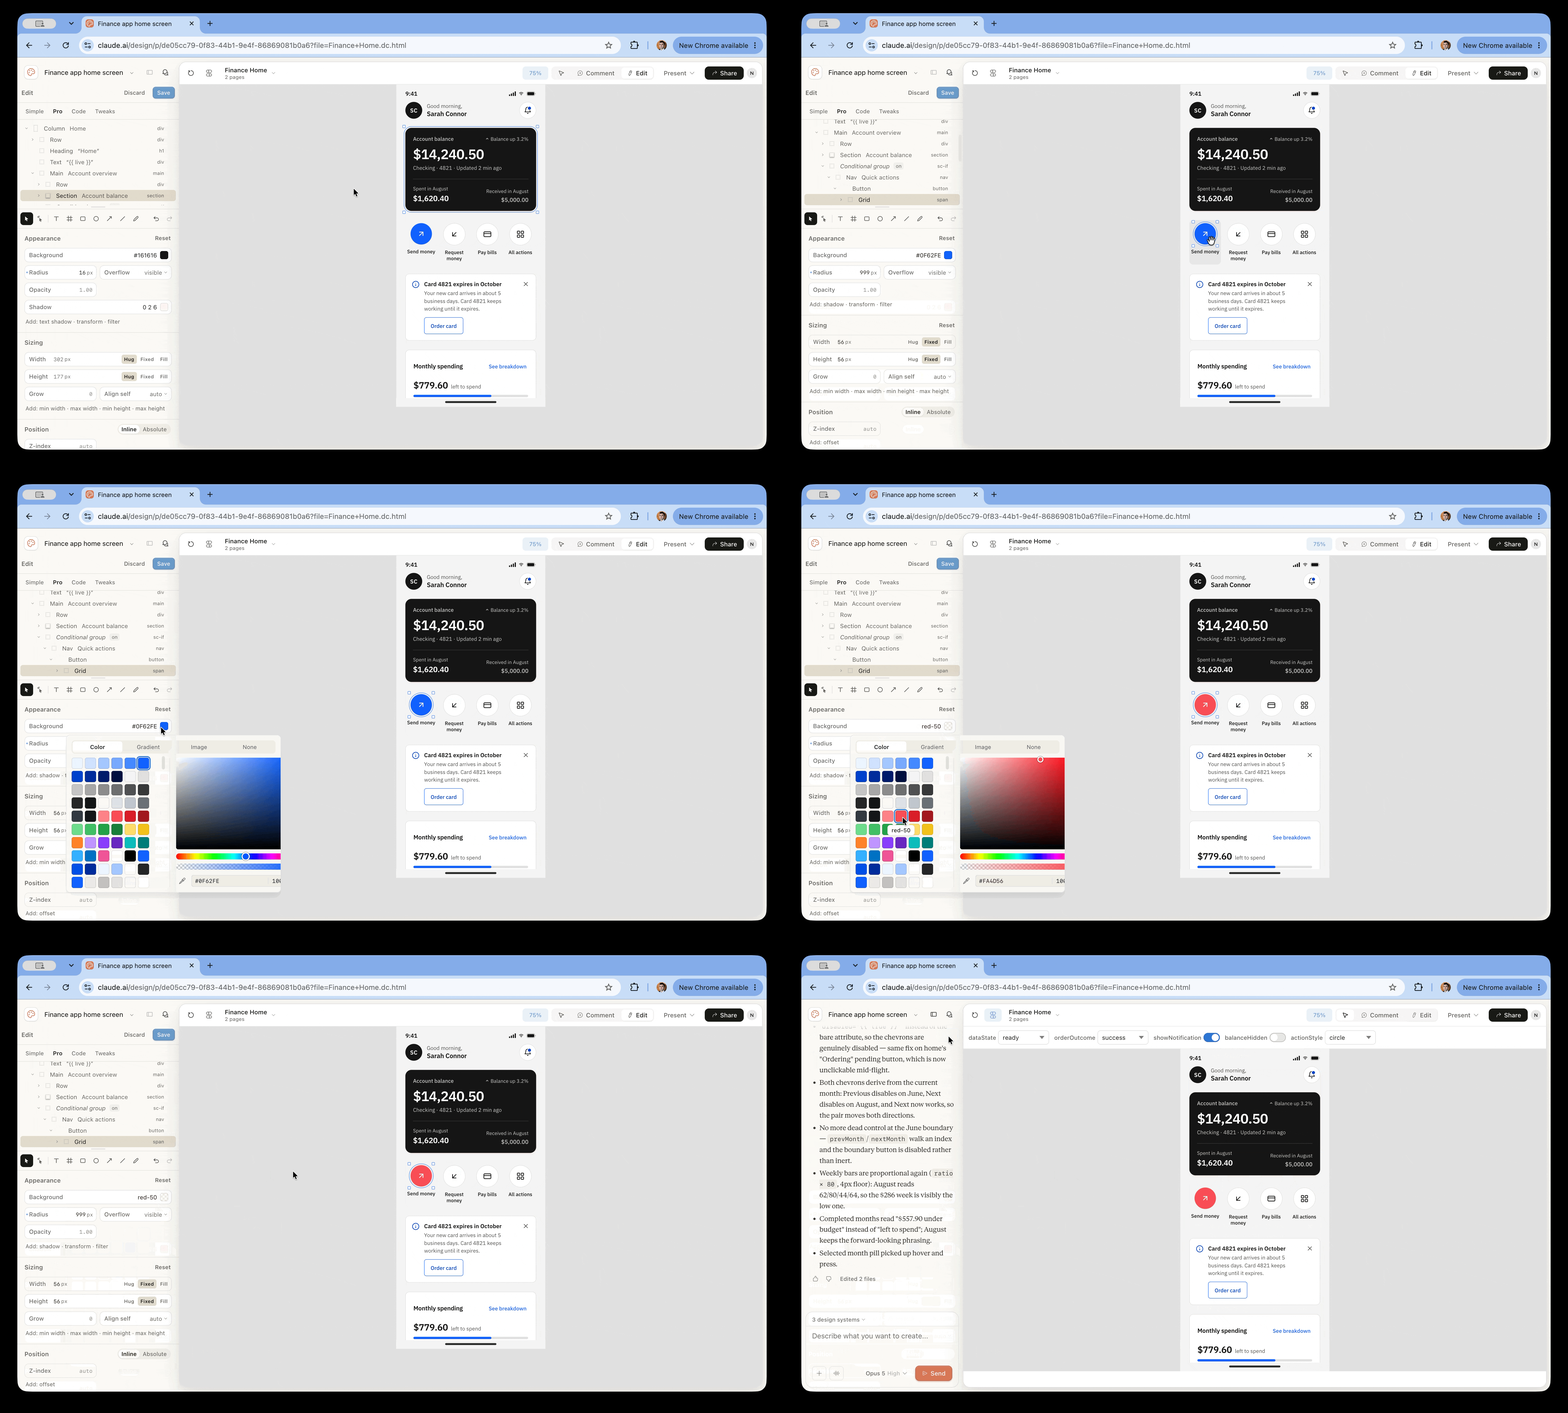
Once it looks right, prompt Claude using Chat:
Treat this as the reference and apply the same decisions everywhere.
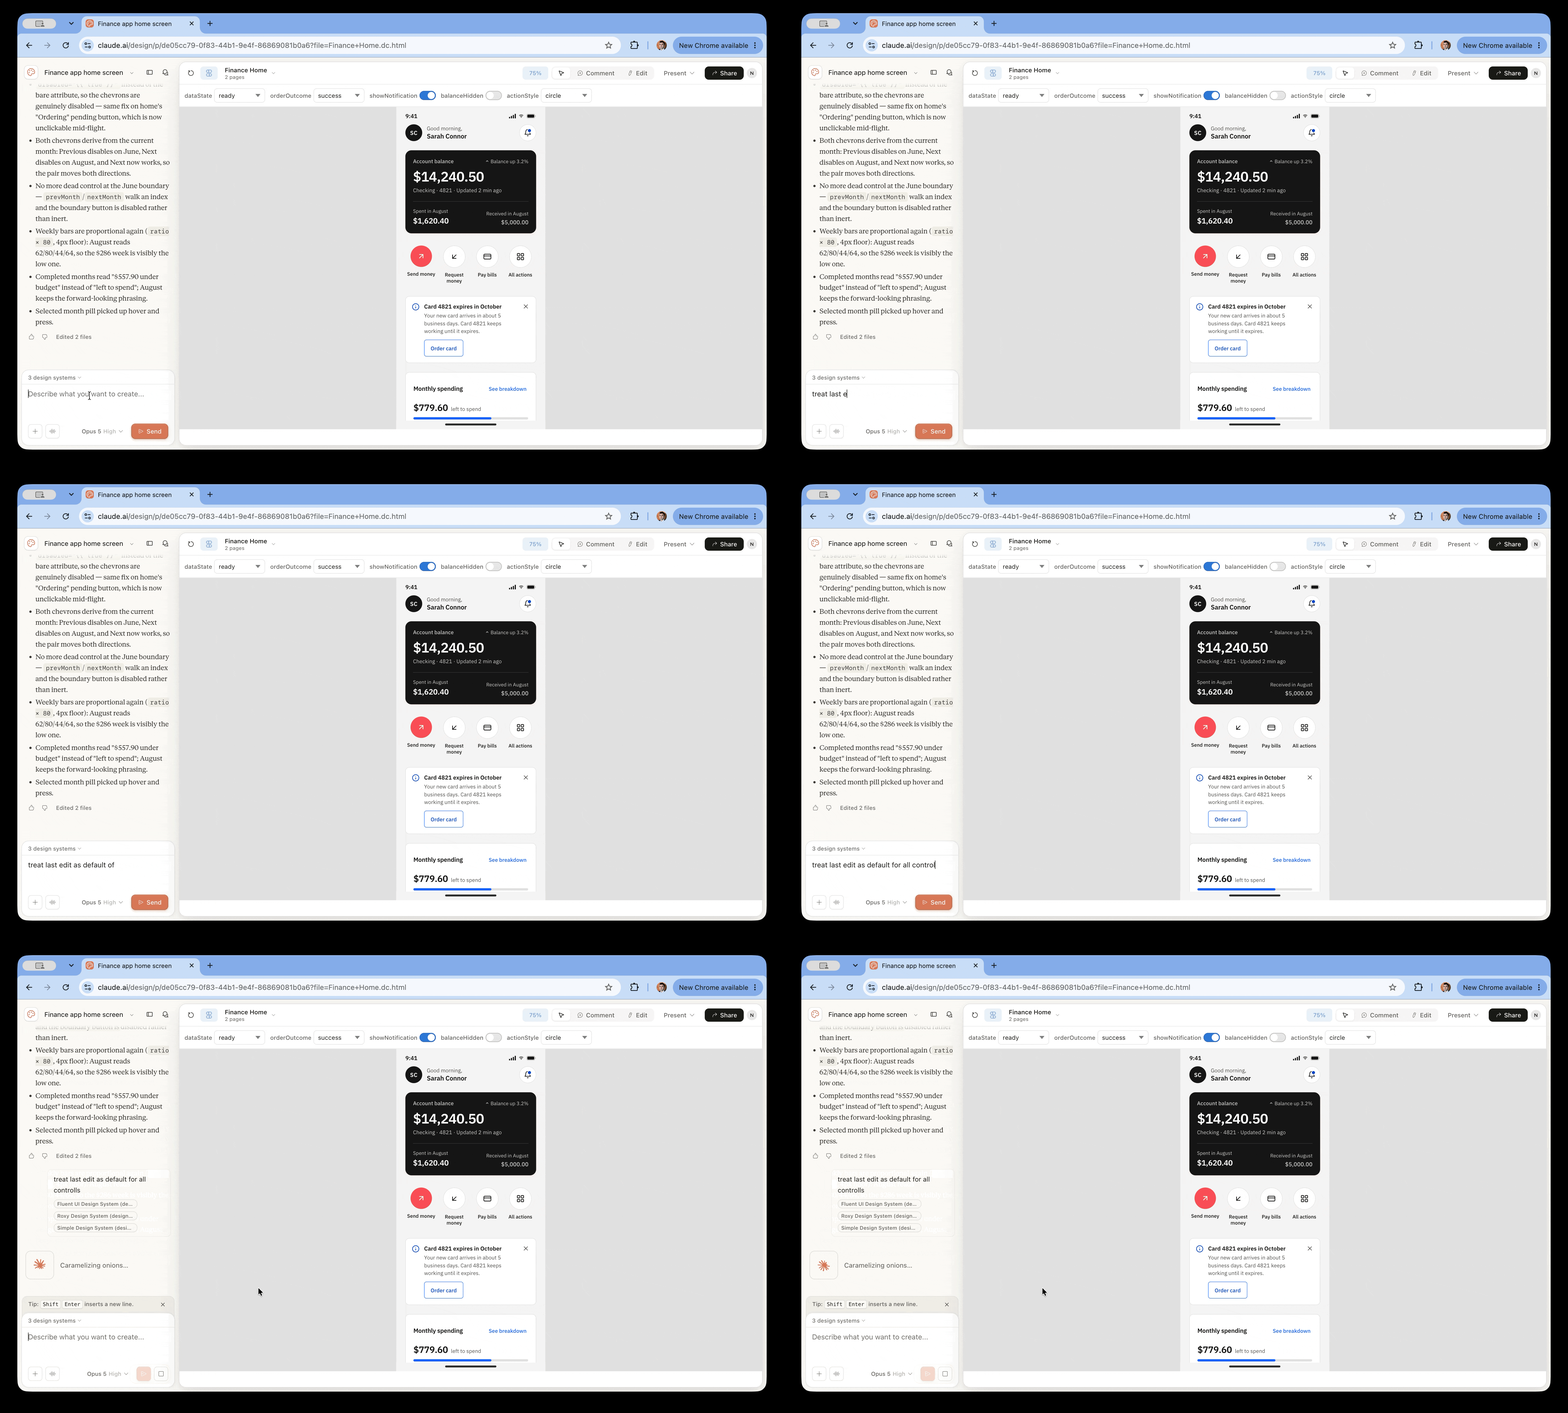
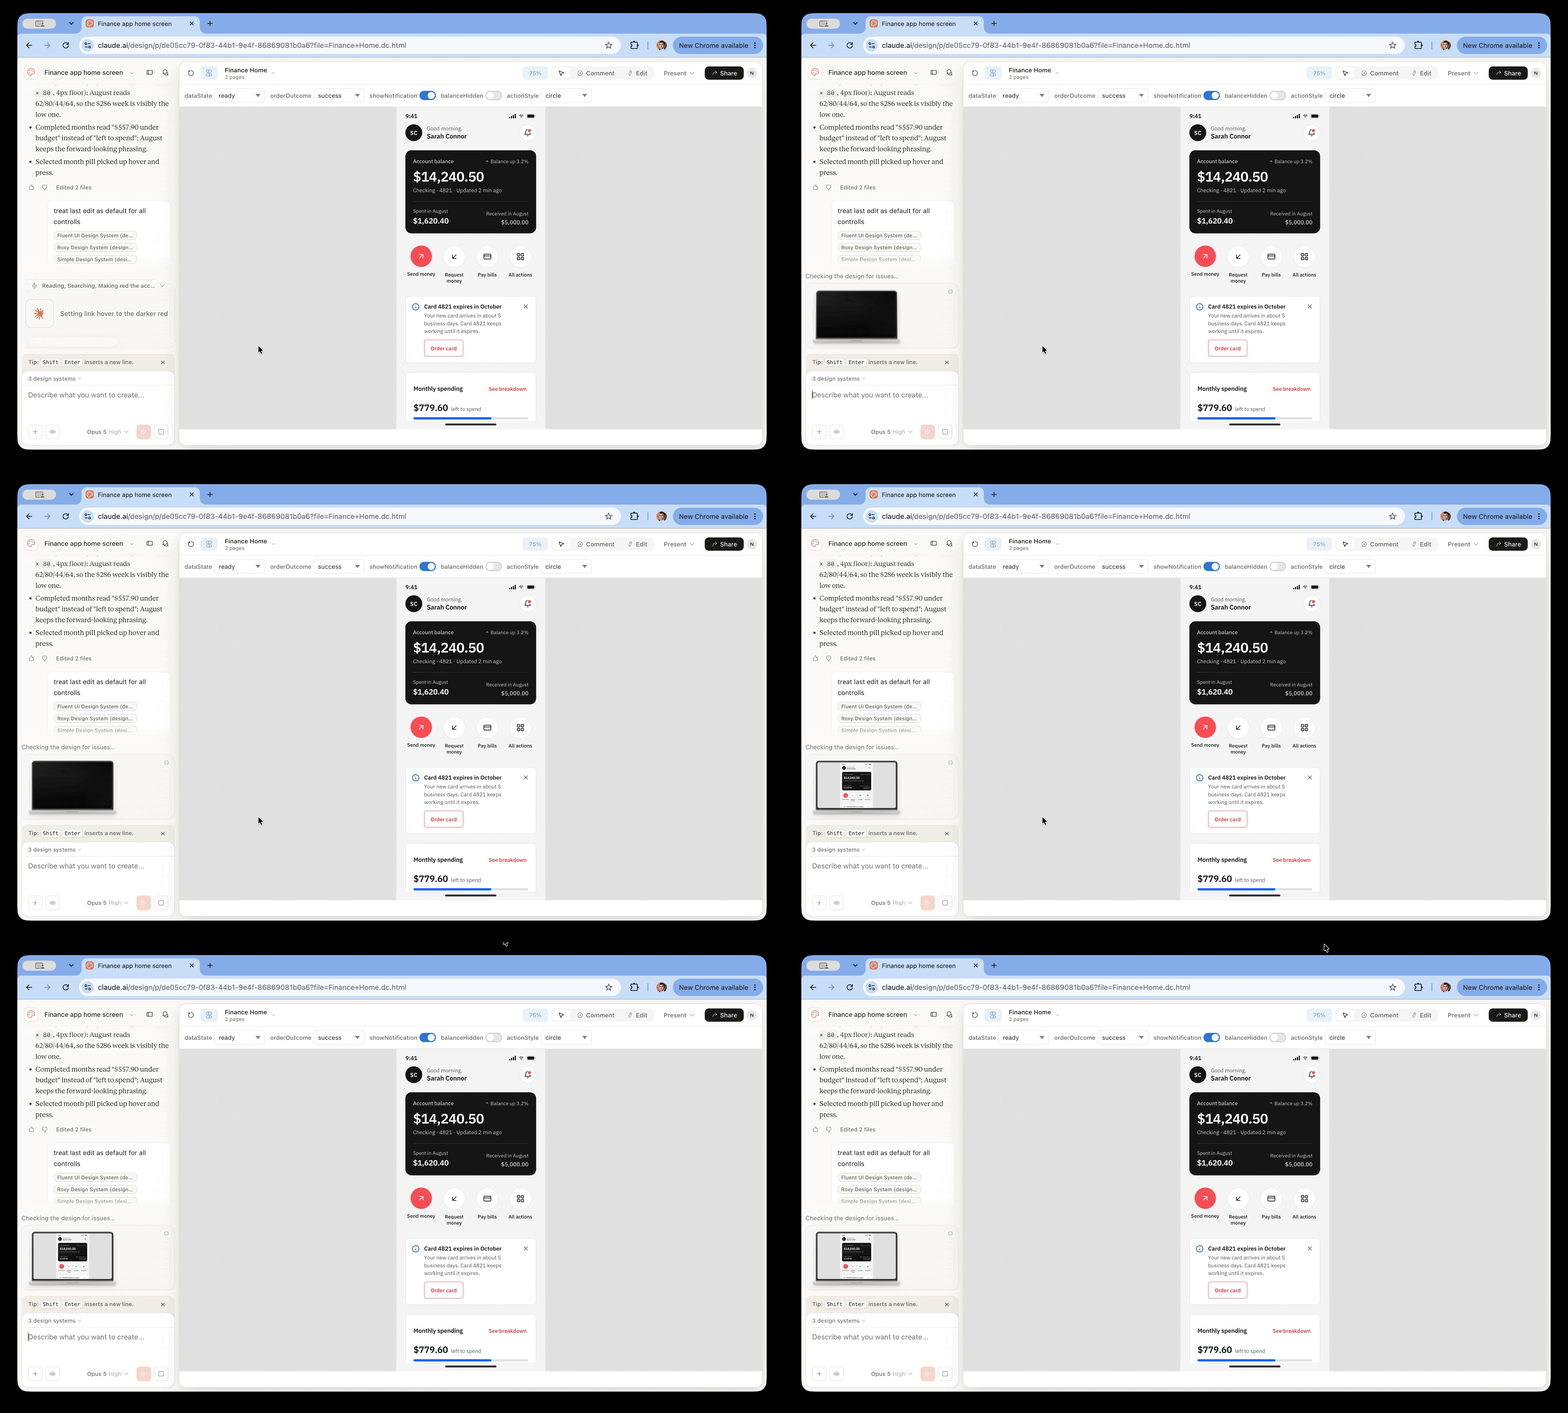
And Claude Design will apply element-level refinements across a broader design.
2. Make Claude explain the design decisions before modifying them
“I only see a final result, I don’t know what info AI used when generating it!” is by far the most popular quote from designers that I hear over and over again.
The truth is: you can ask AI what it knows (and doesn’t know) about your product and what assumptions it makes.
And the prompt is:
List the assumptions you made about the user, task, hierarchy and interaction model
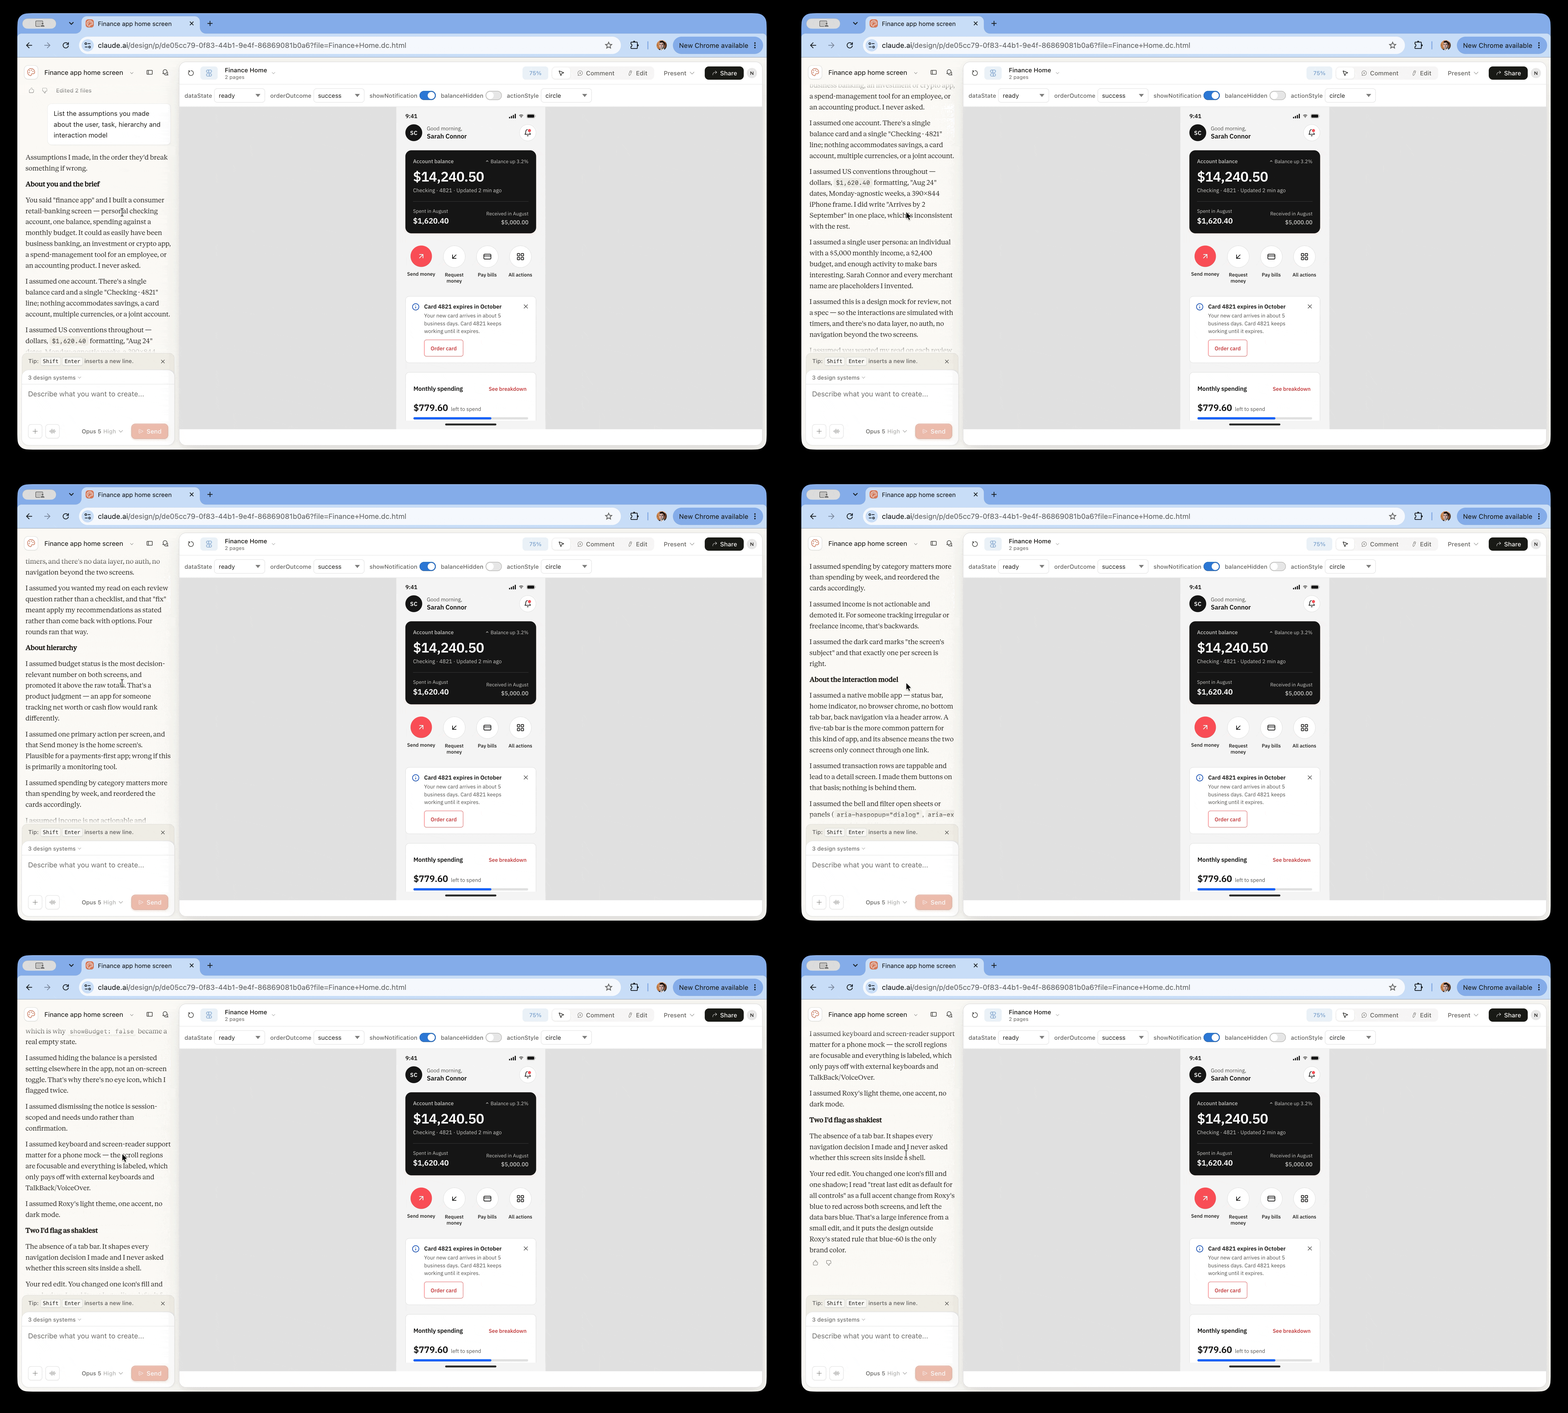
Claude will likely generate a quick summary of the context it has about your product, task at hand, and even specific design decisions.
After reading this summary, you will clearly see where your AI understanding has gaps.
So, don’t guess. Simply ask AI to provide this information.
3. Prototype states, not screens
Another popular problem with AI-assisted design is when designers focus on layout design, forgetting about interactivity.
The great thing about Claude Design is that it supports interactive prototypes, and you can gain much more from modeling the behavior than producing another static mockup.
All you need to do is ask for specific states such as empty, loading, populated, error, validation, success, and edge cases rather than only the happy-path screen.
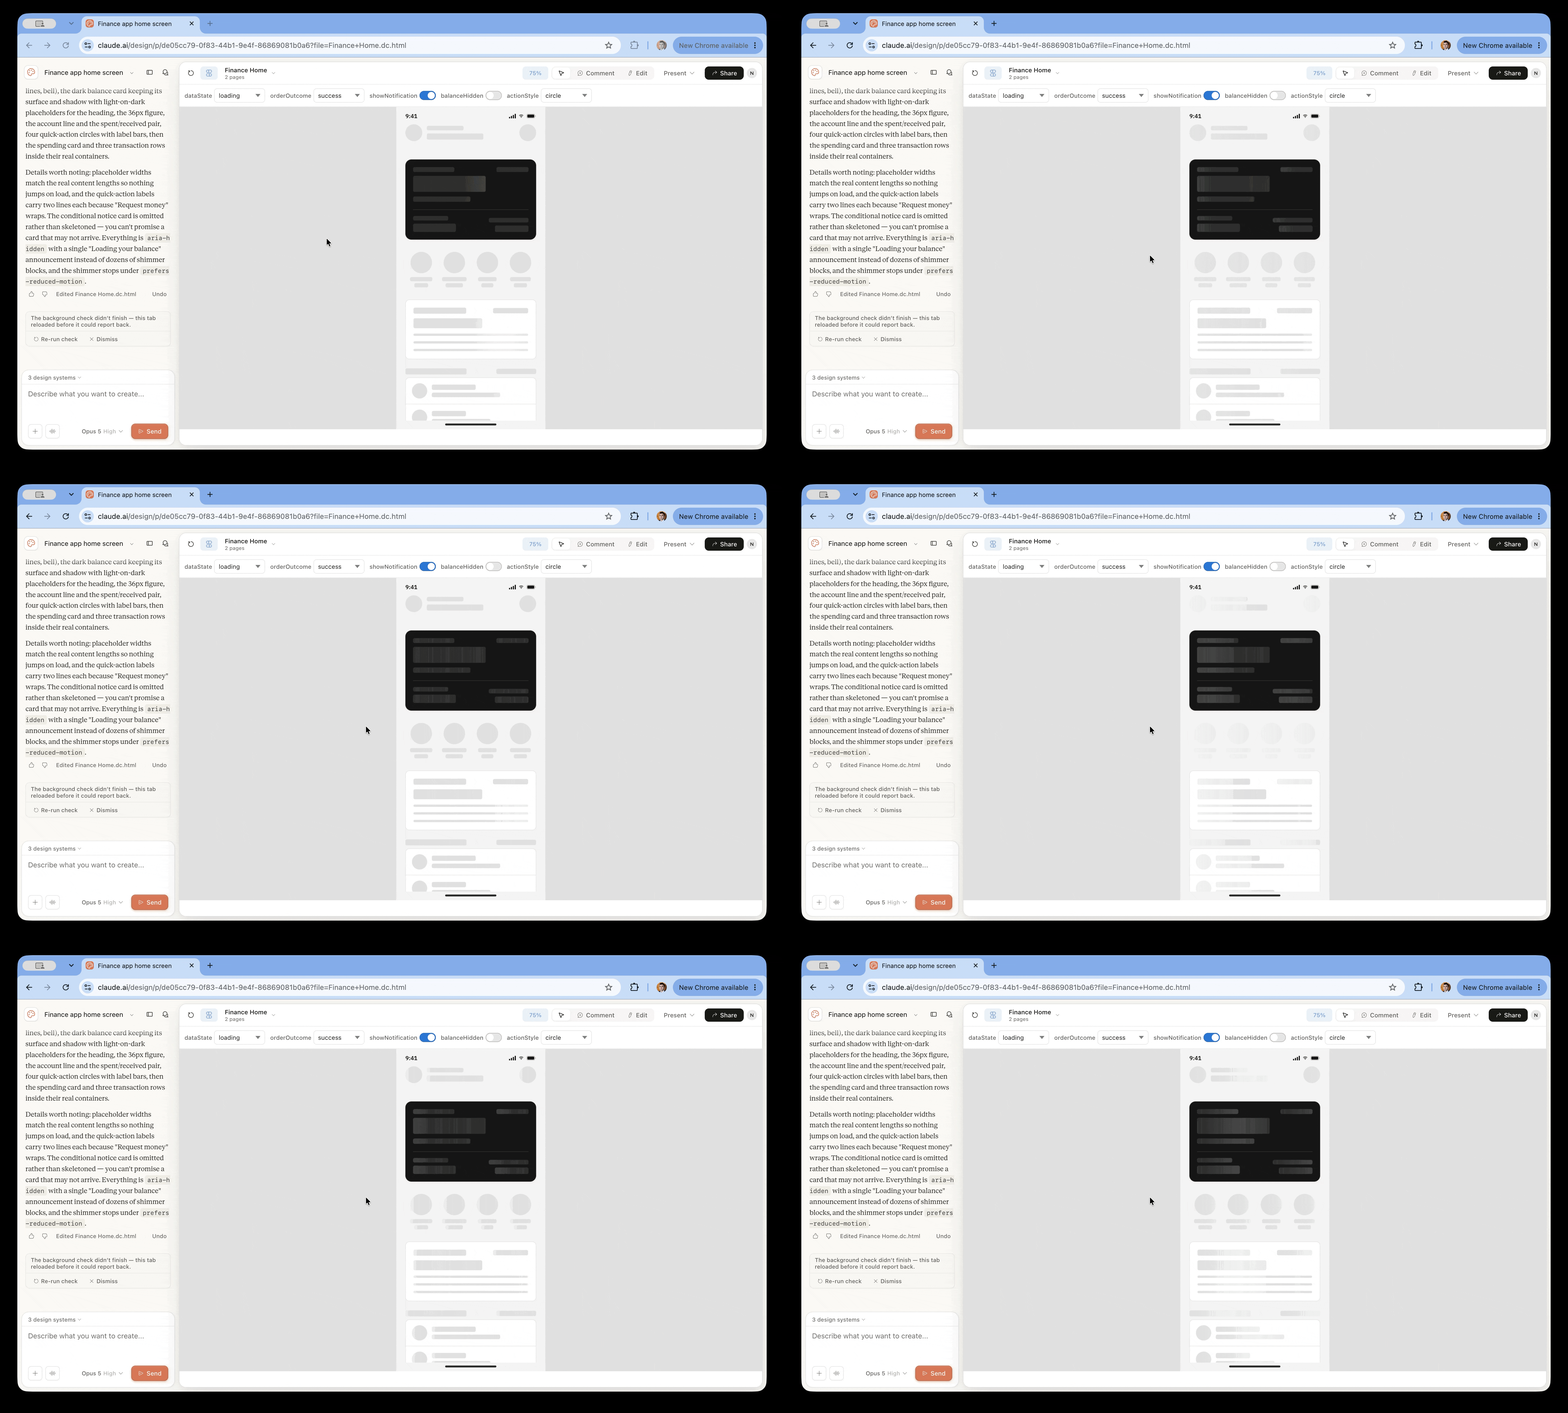
For example, here is a loading state with a skeleton screen that Claude Design generated for my banking app using my original home screen layout as a reference. And this skeleton screen is not a mock; it’s a fully functional coded prototype.
Design a loading state for home screen - make it a skeleton screen
Want to master Claude Design?
Check out my complete guide to Claude Design, packed with practical insights on how to use it for various design tasks, from UI design to logo design. The guide is updated weekly, so you’ll always have access to the latest information about the tool.
Claude Design: Practical Guide for Product Designers

3 Simple Tricks That Will Help You Iterate Your Design with Claude Design was originally published in UX Planet on Medium, where people are continuing the conversation by highlighting and responding to this story.