
Anthropic Claude is a primary competitor of OpenAI’s ChatGPT. Just like ChatGPT this is versatile tool that can be use used in many different purposes but there is an area where Claude shines and this area is coding. Claude is great at code-adjacent design tasks and can be used as a nice supporting tool for everyday product design activities.
In this article I will explore 3 ways how UI designers can benefit from integrating this tool in their design process.
1. Design-to-code translation (quick prototypes)
Once you craft a high-fidelity mockup, you need to turn it into code. Previously, you have either to wait for developers to do it or learn how to code and do it yourself. Nowadays you can simply send your design to Claude and it will code it.
I typically use Claude to generate an HTML + TailwindCSS prototype from UI specifications or UI screenshots. Here is how it works. You attach a screenshot of the UI you want to craft and let Claude do the heavy lifting for you.
Quick note: I’m not saying that this appoarch will replace front-end dev work. I suggest using it only for creating prototypes for demo purposes.
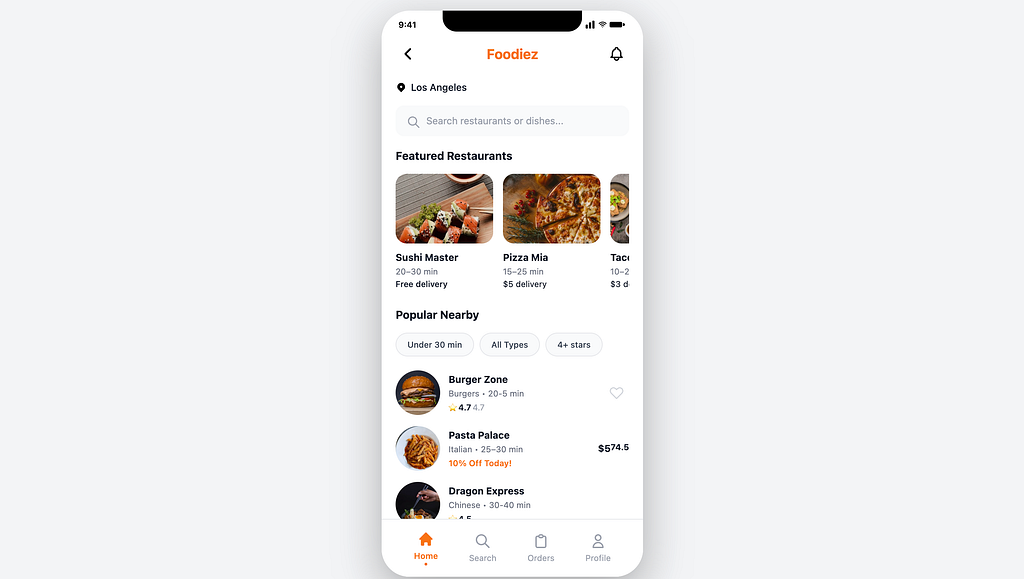
For my example, I will use a screenshot of the mobile screen I’ve generated using ChatGPT 5 (https://uxplanet.org/ui-design-with-chatgpt-5-afc67dc501a1)
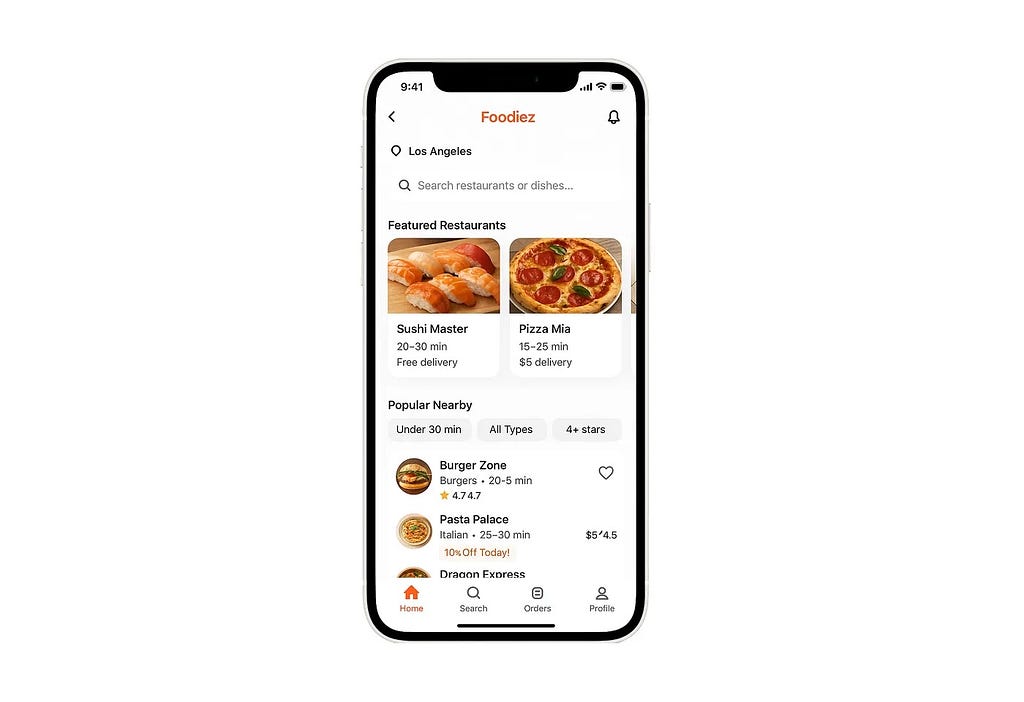
All I need to do is attach this screenshot in high resolution to Claude and ask it to generate an HTML prototype.
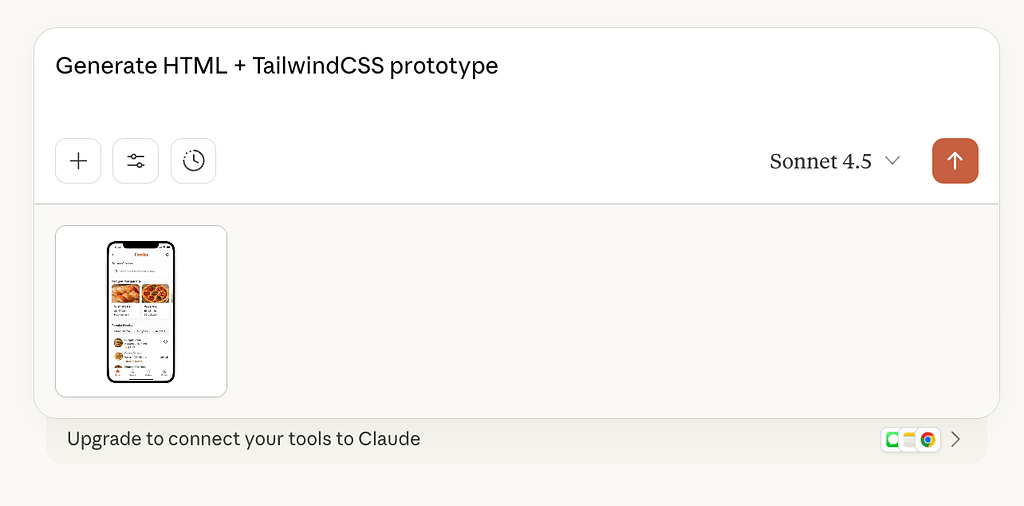
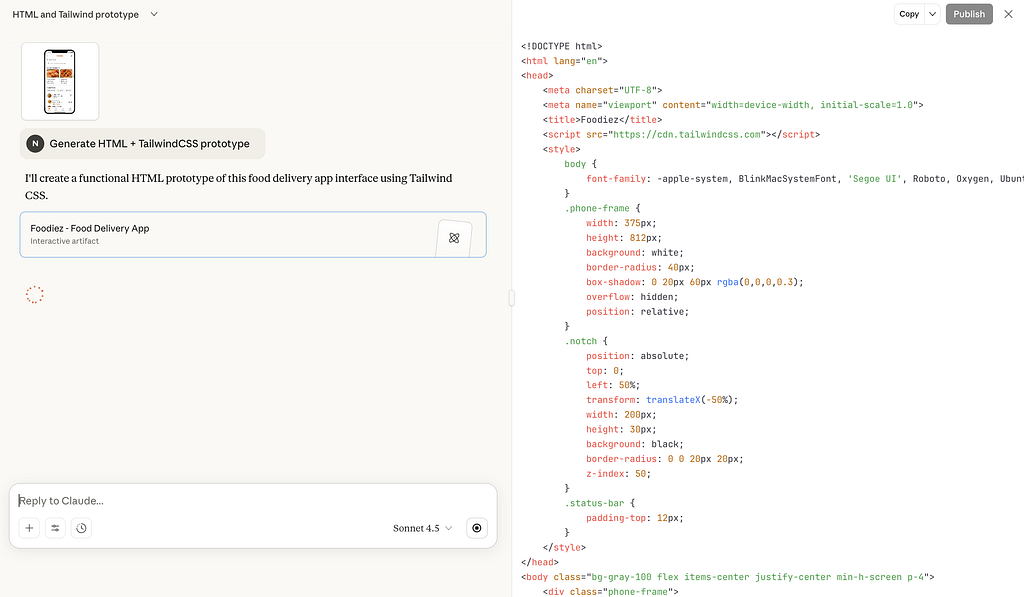
The moment you submit this prompt, Claude starts working on this task and writes code in real time.
Note that Claude sometimes fails to show the right preview in the right-hand panel. For example, in my case, it shows something like this:
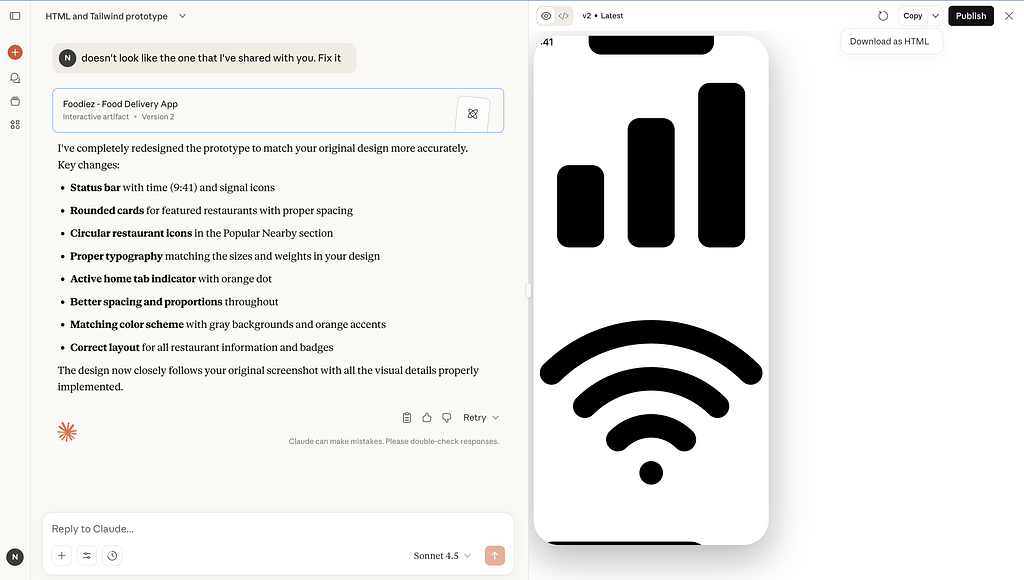
But if you download the code (click chevron icon in Copy option and select Download as HTML) and then open this code in browser, you will see an actual design that Claude generated for me.
The prototype that Claude generates on the first try will have minimal interactivity by default (unless you explicitly mention interactive effects in your prompt), but you can provide a follow-up prompt, asking Claude to introduce some interactive effects, such as supporting horizontal scrolling for a Featured Restaurants section.
2. Design system tasks
If you manage a design system for a mid or large-sized organization, you likely know that the better you create a transition between your design and code, the more chances you will achieve visual and functional consistency for your design. In other words, what you design will be implemented precisely as you planned.
Coding UI components
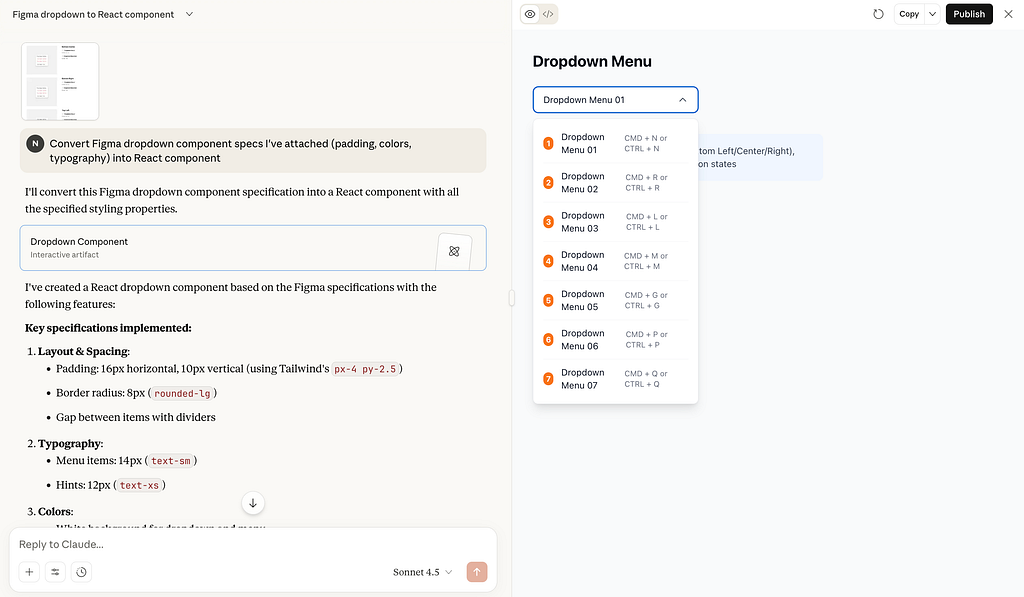
I find it really valuable to use Claude to convert Figma component specs (i.e., sizing, functional behavior, styling, etc.) into React components. Here is what I do to achieve this.
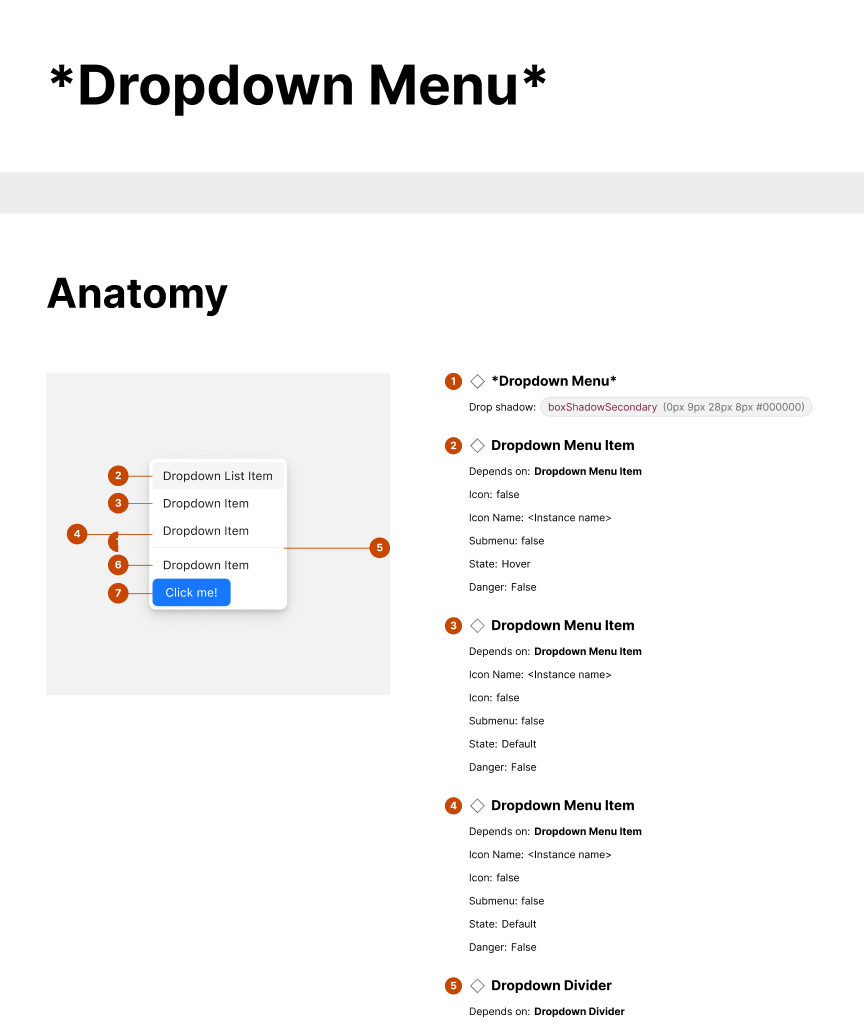
Step 1: Create specs for a component. If you don’t have specs for your component, you can create them using plugins called Specs or Figma Exporter. These plugins generate a spec for my component. Below, I create a spec for a dropdown component used in the open-source Ant Design System (https://www.figma.com/community/file/822070817360747147)

After plugin performs the task you should see something like this where all states and visual properties of a component clearly articulated.

Quick note: Personally, I suggest always craft the specification yourself and use plugins like Specs only as a supporting tool in this process.
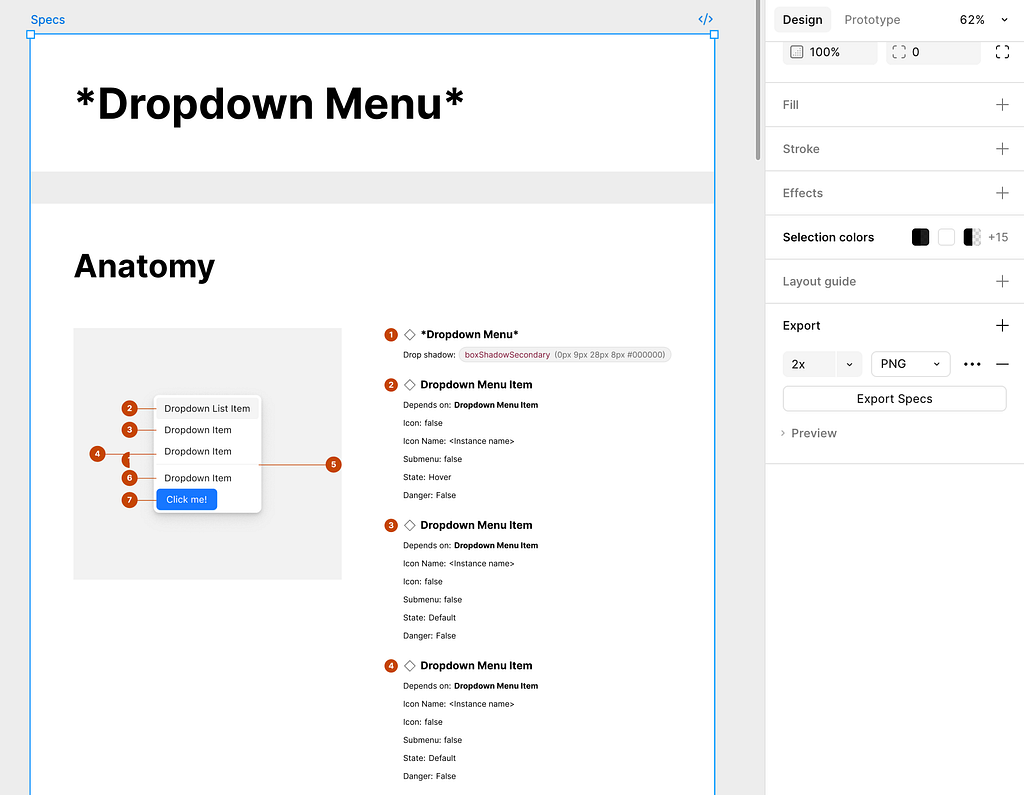
Step 2: Export the spec as a file from Figma. You can use Figma exporter for this purpose.
Step 3: Send specs to Claude so it can generate a React Component.
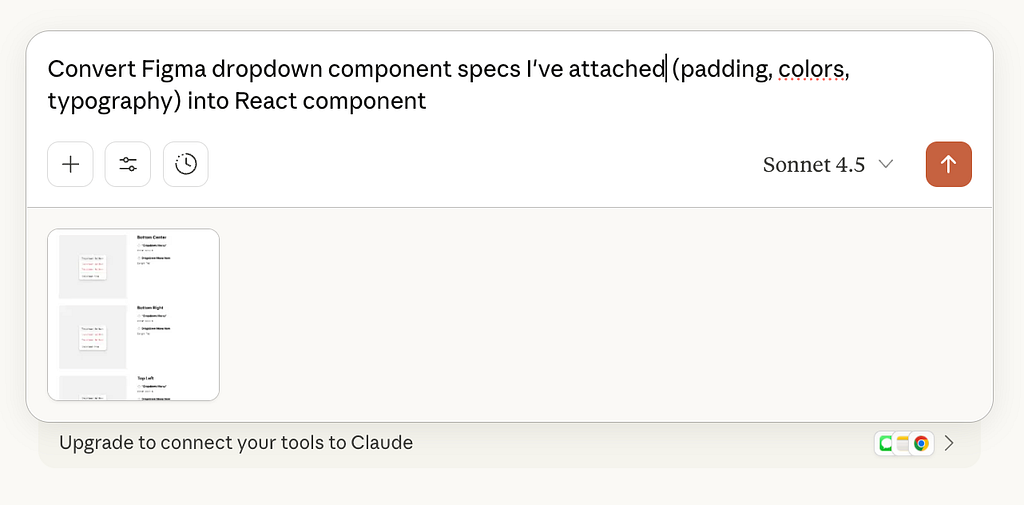
And in less than a minute, Claude will generate an interactive preview of our component in React.
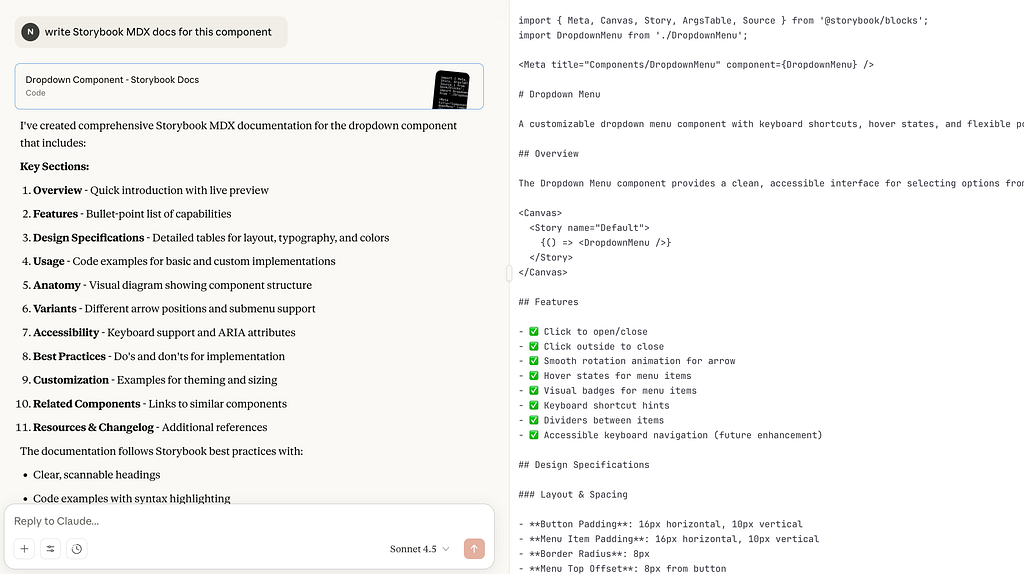
Pro tip: You can ask Claude to write Storybook MDX docs for your components. In my case, I ask to write docs for a dropdown and Claude does exactly that.
Preparing CSS variables/Tailwind configs
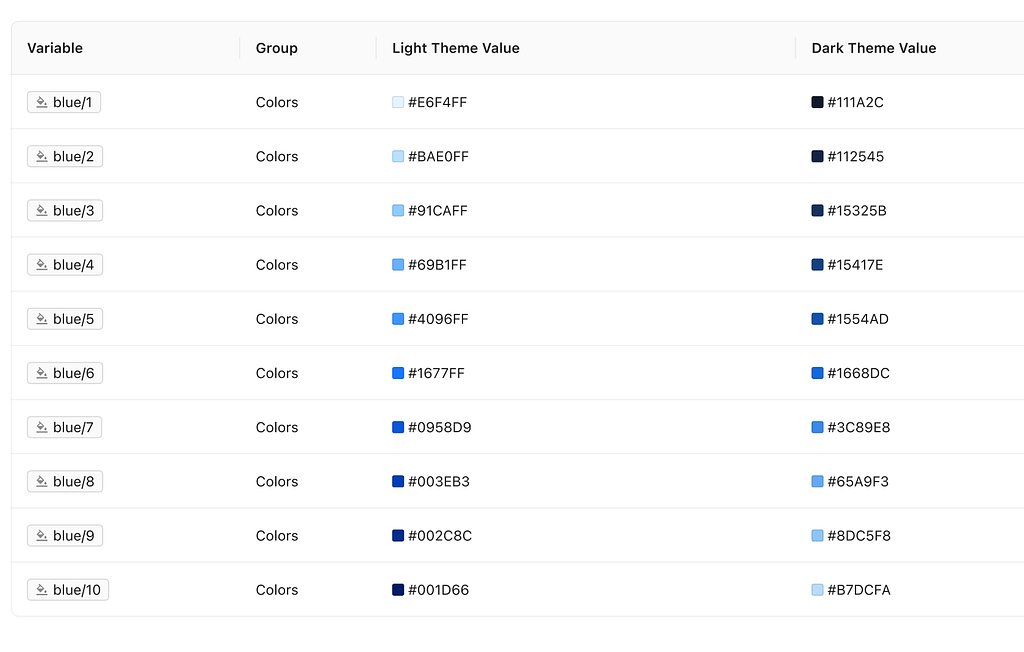
Another task that Claude can help us with is turning our styleguide into JSON, CSS variables, or Tailwind config. This time, I will provide a table with colors that the Ant Design System uses.
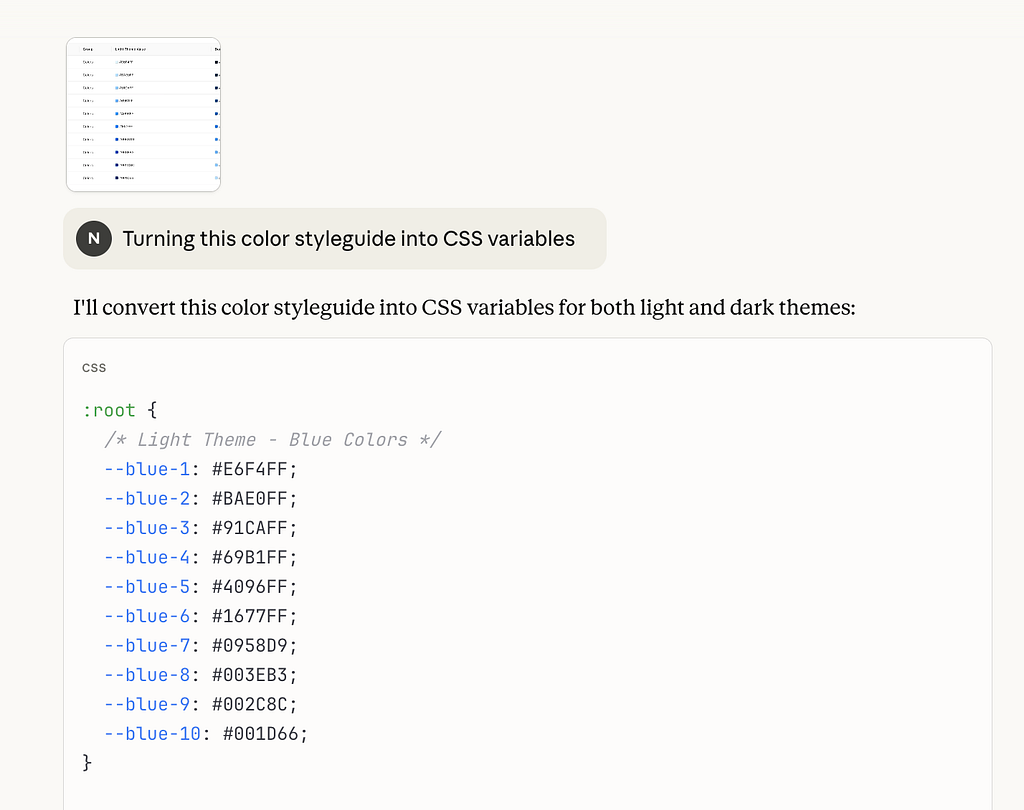
The prompt I use for this case is “Turn color styleguide into CSS variables” and here is the output that Claude generated for me:
3. Creating micro-interaction & animation snippets
Animated effects are nice details that we add to our product to make interactions more user-friendly. Claude can help us with that by handling code tasks that will visualize interaction intent such as:
- Animate component state transitions for prototypes.
- Generate CSS keyframes for subtle hover/press effects.
- Create Framer Motion animations (fade-ins, tab transitions, button micro-interactions).
- Add easing curves and durations for consistent motion design.
Because I love using Framer for creating animated effects, I want to show how Claude can help me with animating a call to action button (I’m using a button from Ant Design System)
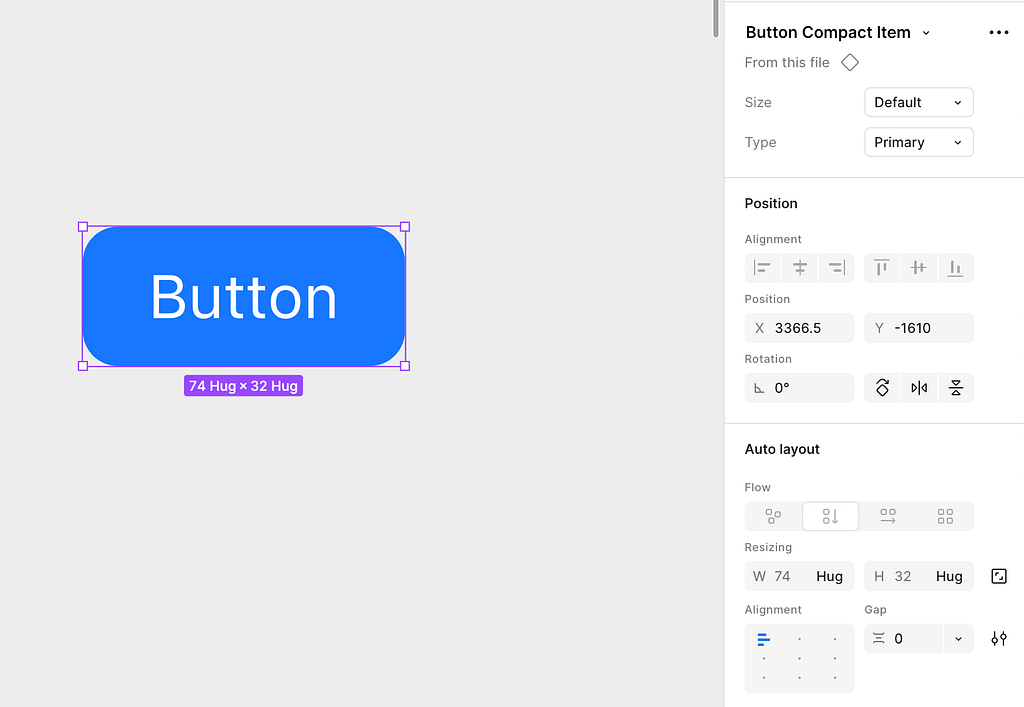
Prompt format that I will use
“Generate a Framer Motion snippet for a button that scales up slightly on hover and fades when disabled.”
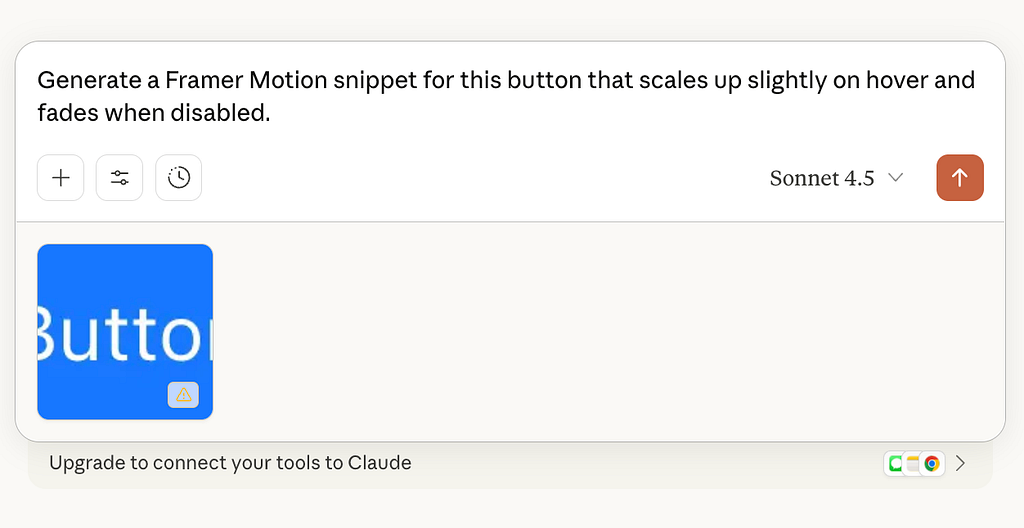
Takes less than a minute for Claude to generate a code for this button.
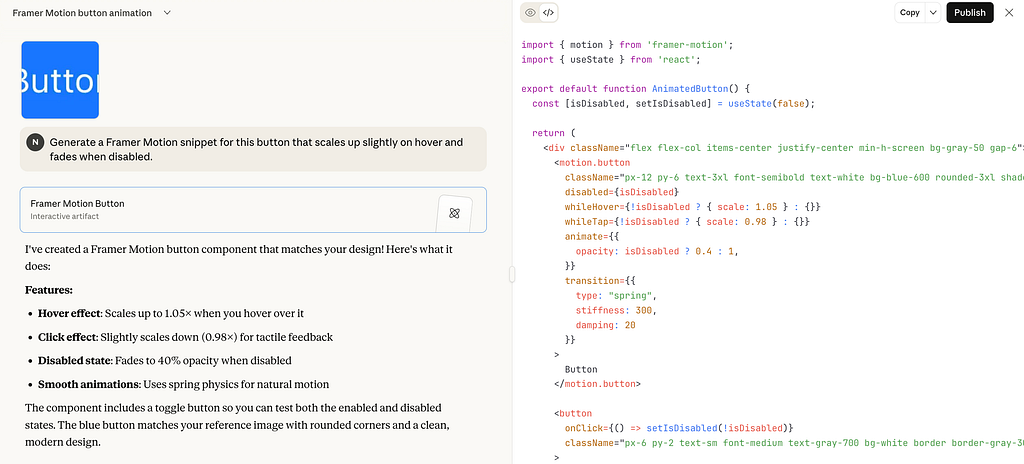
And here is how it works

🚨 New AI-powered product design community 🚨
If you’re passionate about building digital products and want to make the most of latest tools (including AI tools), I’d love for you to join me in the Product Design Community on Skool. You will have access to tutorials and cheatsheets for design and automation tools as well as live Q&A sessions with me.
👉 Join for free here: https://www.skool.com/product-design-7868
![]()
Claude For Code: How to use Claude to Streamline Product Design Process was originally published in UX Planet on Medium, where people are continuing the conversation by highlighting and responding to this story.